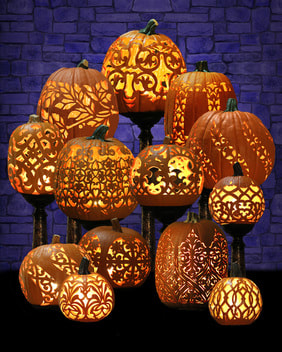
When autumn arrives, pumpkins become the stars of the season—lining porches, lighting pathways, and sparking joy for families everywhere. But pumpkin carving is more than just a seasonal craft. With the right techniques, your pumpkin can transform into a glowing work of art.
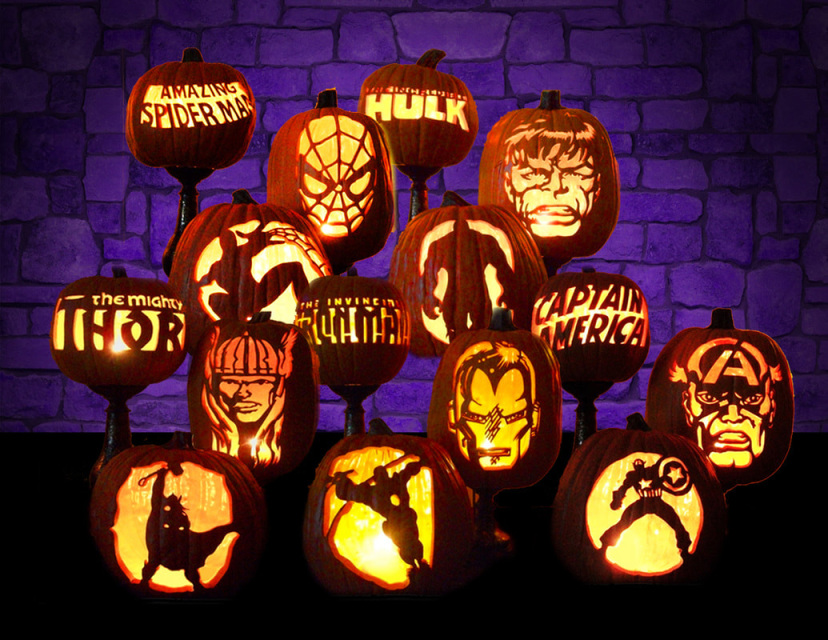
To guide us through this adventure, we turn to Barry Brown, an award-winning designer, art director, and master carver who has wowed audiences for more than 25 years. His work has been featured on The Tonight Show with Jimmy Fallon, Good Morning America, The Today Show, and in live performances at Silver Dollar City, among many others. He also co-authored The Pumpkin Kid, a children’s book that shares an “olde world” tale of an orphan boy who turned misshapen pumpkins into beautiful gifts for his village—reminding us all of the power of creativity and shining light in dark places.
For Barry, pumpkin carving is more than just art—it’s a way to shine light and encourage others to do the same. Through every design, he shows that beauty can be found in unlikely places and that creativity has the power to inspire.
Barry Brown’s Pumpkin Carving Tips
Barry shares his pumpkin carving secrets to help you make your own masterpieces this fall. Before you begin, remember that safety is just as important as creativity. A pumpkin can be surprisingly tough to carve, so use the right tools and follow these steps for a fun, safe, and successful experience.
1. Start with an Unusual Cut
Instead of cutting off the traditional “lid” at the top, Barry recommends beginning at the bottom. Draw a half circle, then connect it with a straight line across—making a shape like a capital “D.” Push that piece inside, then finish carving the circle to remove it. This helps your pumpkin sit flat, gives you easy access to scraping it out, and makes lighting it easier later.
2. Clean It Out
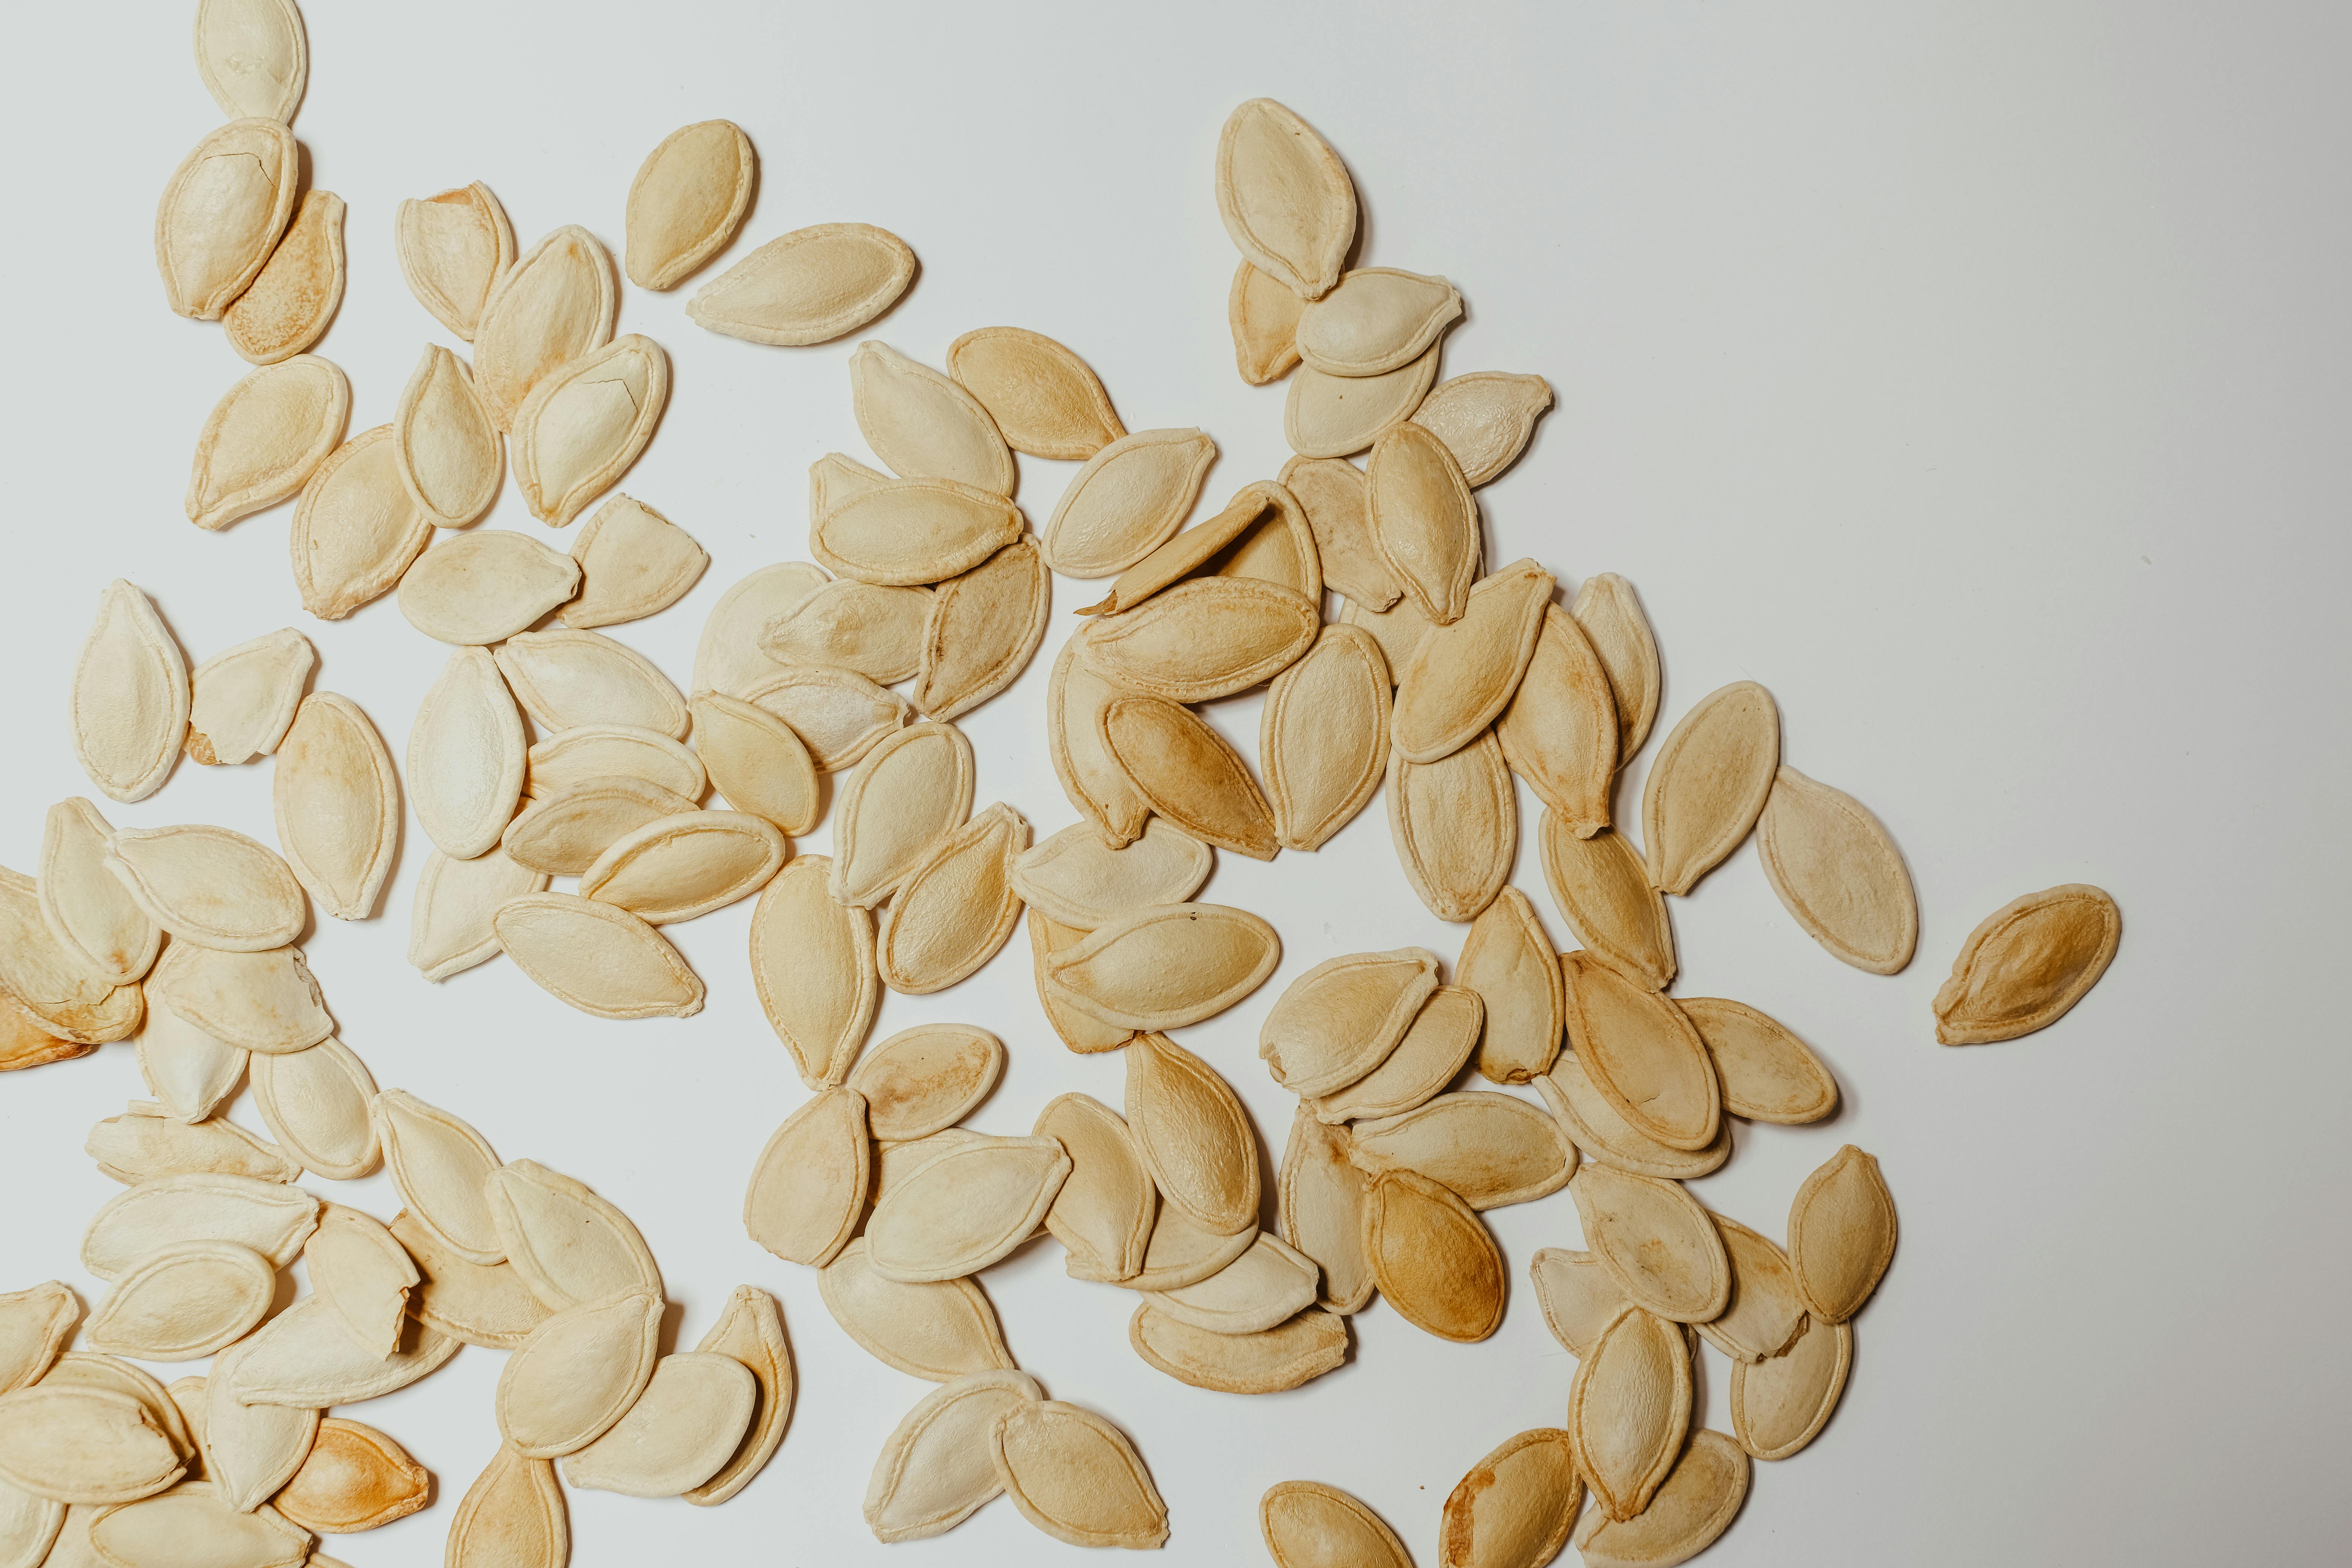
Scoop out the insides and set aside the seeds. Make sure to scrape the walls clean so your design will shine through. Visit Simply Recipes for tips on turning those seeds into a tasty autumn snack: RECIPE
3. Carve on Your Lap for Stability
Place your pumpkin right side up on your lap while carving. This gives you better stability and control, making the process safer than working on a table.
4. Transfer Your Design
Print or draw your chosen design on paper and tape it to the pumpkin. Use a poking tool like a pushpin or an awl to make small holes along the lines. When you remove the paper, you’ll have a dotted outline to guide your cuts.
5. Use the Right Tools & Motions
Skip the kitchen knives! Invest in a pumpkin carving kit. A miniature saw tool works best—just remember to saw in straight up-and-down motions. As you carve, rotate the pumpkin so the section you’re working on is always positioned straight up on your lap.
6. Light It Up
When your masterpiece is complete, place the pumpkin on a plate or square of aluminum foil with a lighted candle or flameless candle inside!
The Art of Pumpkin Adventures
Carving a pumpkin isn’t just about the finished product—it’s about the adventure itself. Whether you’re creating silly faces with your kids, trying an intricate design, or roasting seeds afterward, pumpkin carving brings families and friends together in a shared seasonal tradition.
And if you’re looking for inspiration beyond your own porch, pick up Barry’s book The Pumpkin Kid at BARRY BROWN CREATIVE. It’s a timeless reminder that beauty can come from unlikely places, and that creativity is often the light the world needs most.
This fall, let your Pumpkin Adventure begin. With Barry Brown’s expert tips, you’ll carve with confidence, create with joy, and shine a little brighter—one glowing pumpkin at a time.